You finished your quilt top; now, how do you prep it to be quilted? Whether you’re doing it yourself or sending it to the longarmer the steps are the same and doing a few things can make a huge difference in how it turns out. I’ve quilted hundreds of tops here at JChristy Quilts, and the truth is: a little prep goes a long way. Clean seams, flat borders, and the right backing size can mean the difference between a smooth, beautiful finish and a project that needs extra work (and extra charges).
That’s why I’ve created this complete quilt top prep checklist, as a free printable version to keep in your sewing space.
Why Quilt Top Prep Matters
When your quilt top is well-prepared, it makes the quilting process faster, smoother, and more accurate. It also:
- Helps your longarmer keep the quilt square and centered on the frame
- Prevents puckers, tucks, fullness and uneven tension
- Keeps you from getting hit with “oops” fees or delays
- It ensures the best possible finish on your hardwork
Your quilt deserves to be finished beautifully a little prep sets the stage for that magic to happen.
Press and Flatten
When your quilt top is finished before you start quilting or send it off to a longarmer be sure to give it a good press so it lies nice and flat. Remember: press, don’t iron. Lifting and pressing the iron keeps your fabric from stretching out of shape
Don’t worry too much about which way your seams are pressed open or to the side, either is fine. What does make a difference is trimming away any loose threads so they don’t show through lighter fabrics.
And if you’ve got pets (most of us do!), a quick swipe with a lint roller while you’re pressing will save your longarmer from quilting in stray hairs along with your stitches.
Squaring and Stabilizing
Before you send your quilt top off (or load it on your own machine), take a little time to square things up. Lay the quilt out flat on a big surface and measure from side to side and top to bottom. Your corners should hit close to 90 degrees, and the edges should be as straight as possible.
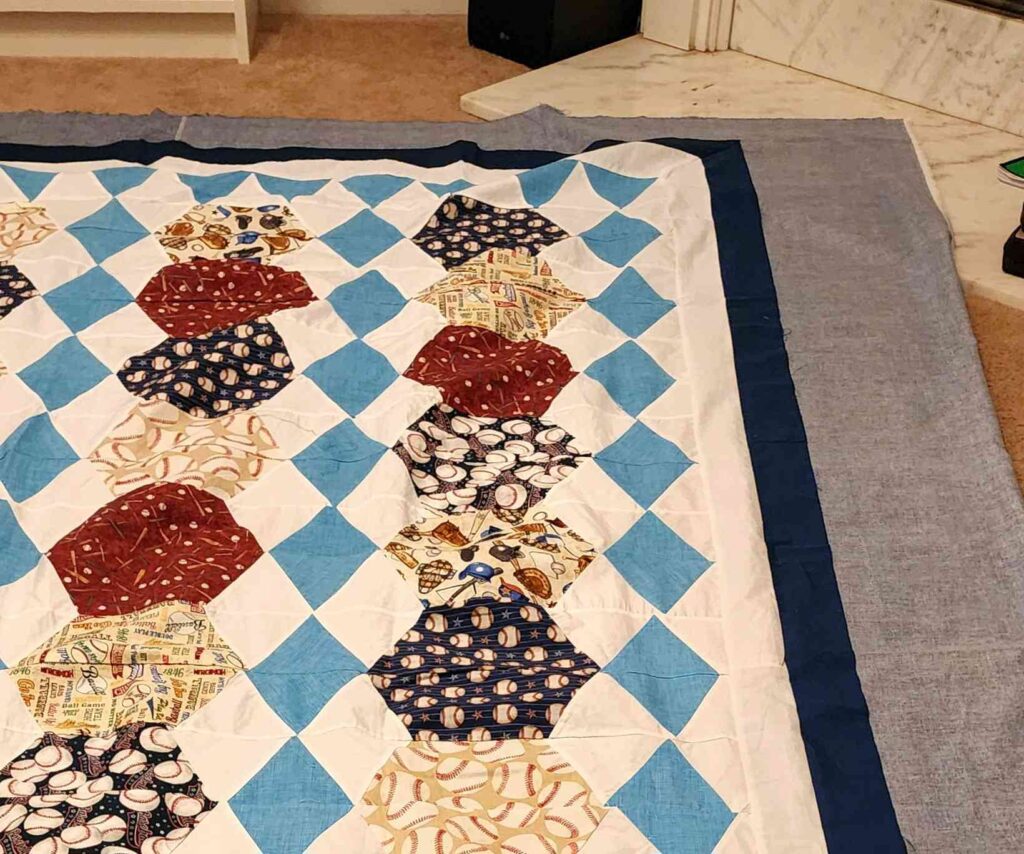
A simple trick I love. Take a picture of your quilt laid out. Sometimes a photo shows wavy borders or uneven spots that our eyes just skip over in person.
If your quilt has triangle or diamond-shaped blocks, it helps to run a quick line of stitching—what longarmers call a victory lap about ⅛” from the edge around the whole perimeter. This little staystitch keeps those bias edges from stretching out of shape while the quilt is being loaded.
Even if you don’t have bias-heavy blocks, a staystitch around the outside edge can add stability and make handling the quilt a lot easier.
Backing Fabric
I tend to overcomplicate backing. I don’t know what it is once the top is done I’m ready to see it finished. But getting your back ready is probably the easiest step.
The main thing is size & pressing it flat.
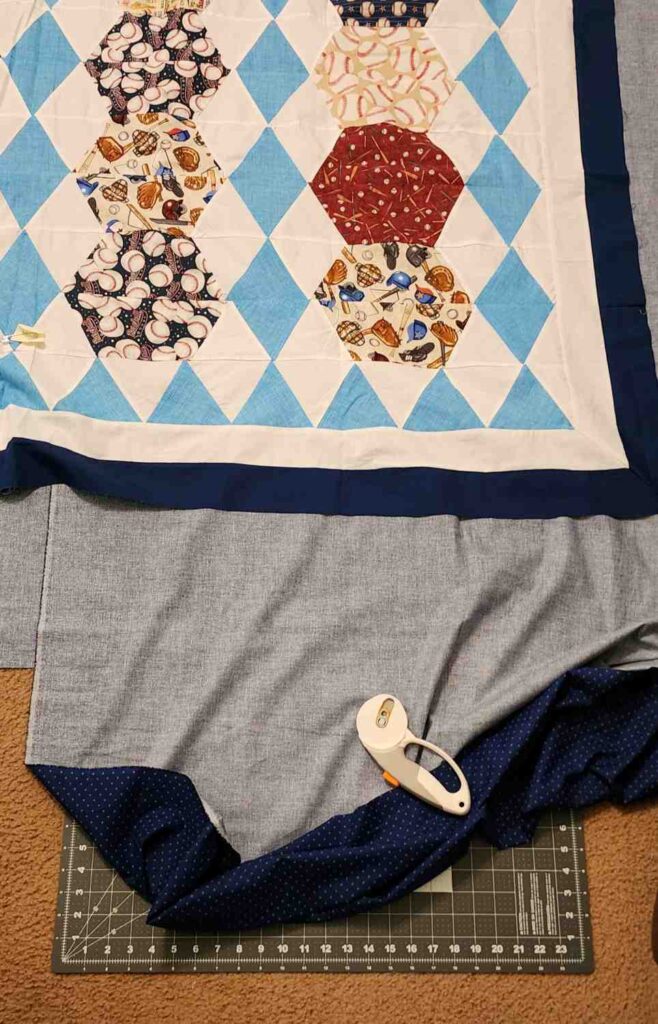
Check with your longarmer of choice because we all have different requirements. For JChristy, your backing should be at least 4 inches bigger on all 4 sides than your quilt top Some longarmers like 6 to 8 inches, so always check if they prefer more.
Don’t rely on what the pattern says—lay your quilt top out on the floor or your bed and measure the width along the top, middle, bottom and the length as well, then create your backing.
If you’re piecing your backing, I personally like to try and use ½” seam allowance and press it open but that doesn’t always workout and I’ve done plenty with a standard ¼” seam allowance and pressed it open and to the side and it’s come out beautifully. The point is nice and flat and square.
Do not feel pressure to remove your selvages, you don’t want the selvages to show in the middle of your quilt backing of course, but us longarmers like seeing them on the back along the top or bottom because it makes the straightest line. It is, truly, straight which helps us line things up when we load your quilt.
That’s it! A flat, oversized backing makes for a much happier quilting experience.
Batting
Batting is probably the easiest part of prep. The key is size—for JChristy Quilts, make sure your batting is at least 4 inches bigger than your quilt top on all four sides.
Most quilters use the batting their longarmer provides, but if you’d rather supply your own, that’s fine too. Just double-check the measurements on the bag, or better yet, lay it out with your quilt top and backing to be sure everything lines up with plenty of room to spare.

No matter which type you choose—cotton, polyester, wool, or a blend make sure your batting is smooth and free of wrinkles before sending it in. That way, it quilts up soft, even, and exactly the way you want.